Installation guide
How to Install an Oura Ring 5 Clear Cover Without Overstretching It
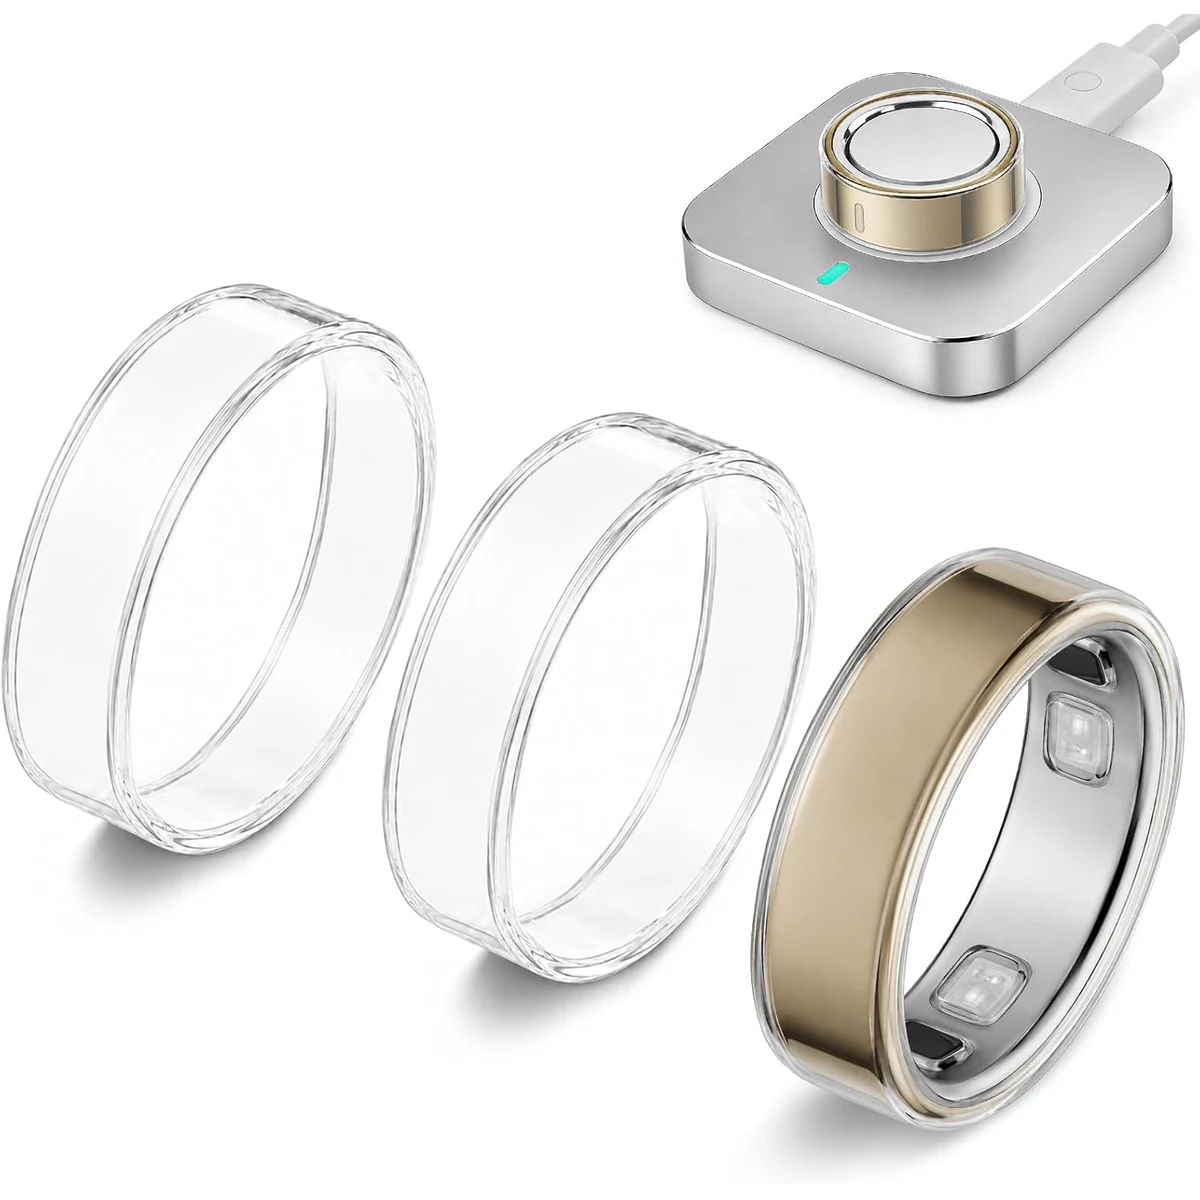
Fit Sylacor’s exact-size 0.5mm clear TPU cover on Oura Ring 5 without pulling from one point, then check seating, charging, and removal.
The answer
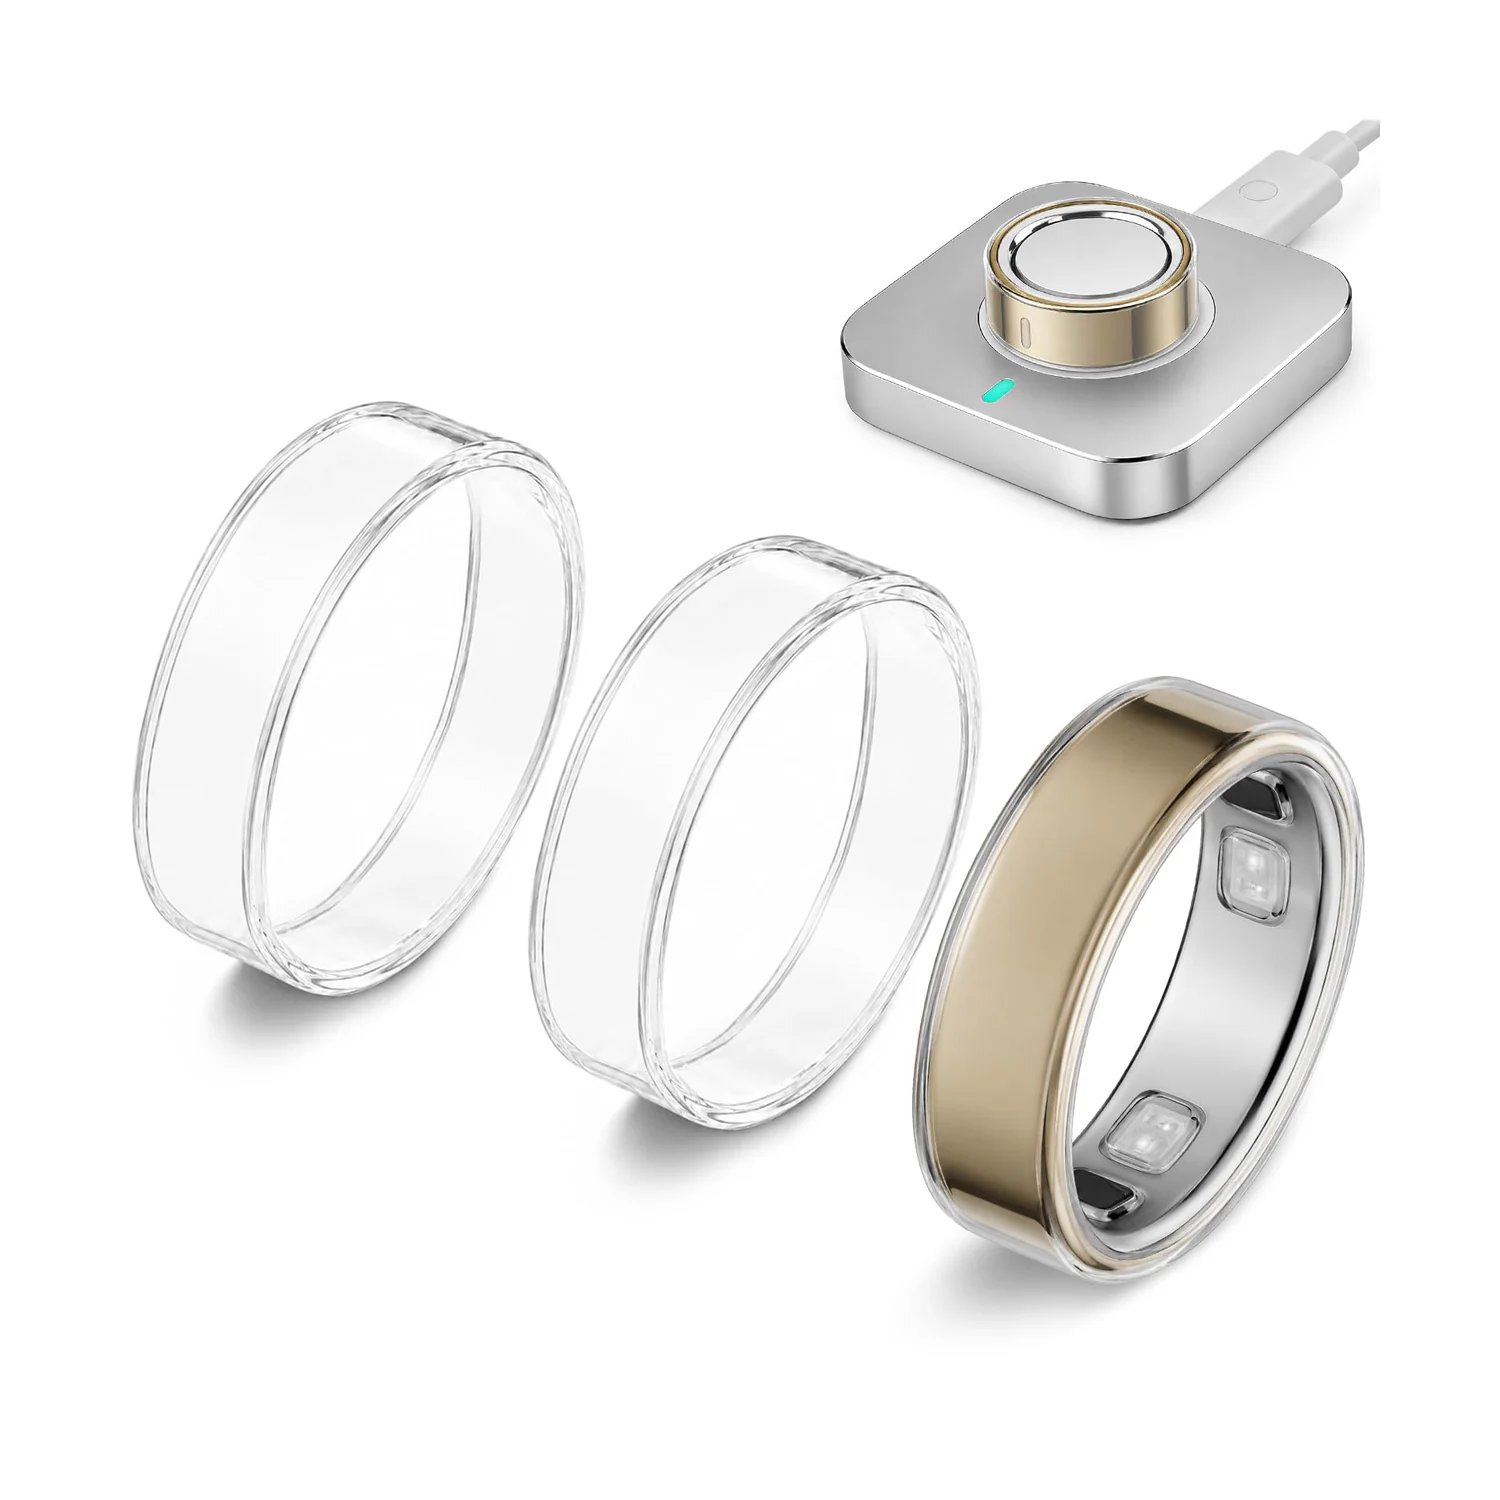
First confirm that the ring and cover are the same Oura Ring 5 size. With the ring off your hand and both surfaces clean and dry, hook one cover edge over the ring and work around evenly with your fingertips. Never pull hard from one point or use a tool. Stop if the cover wrinkles, spins, distorts, or needs force—recheck the generation and size instead of stretching farther.
Check Ring 5 and its exact size first
The current Amazon family uses a separate variation for each Oura Ring 5 size from 6 through 13. It is not a universal sleeve, and the listing explicitly excludes Oura Ring 4 Ceramic, Oura Ring 4, Oura Ring Gen3, and other smart rings.
Oura says Ring 5 sizing differs slightly from Ring 4 and that the size can be checked inside the ring or in the Oura app. Use the size of the actual Ring 5—not a standard jewelry size or the size of another generation.
- Open the Oura app and go to My Devices, or read the size marked inside the ring opposite the sensors.
- Open the Amazon order or product variation and confirm that the selected size is identical.
- If the generation or variation is unclear, pause before opening or stretching a cover.
Prepare a clean, dry workspace
Take the ring off your hand and work over a soft, lint-free surface. Dirt or moisture trapped under a close-fitting clear cover can affect comfort and appearance.
Oura recommends mild soap and water for the ring, followed by thorough drying. Clean the cover separately and let both pieces dry completely before installation. Do not use oil, solvent, hot water, heat, or a sharp tool to make the cover move more easily.
- Wash and dry your hands.
- Inspect the cover for a split, permanent crease, cloudy patch, or stretched edge.
- Keep fingernails and tools away from the thin transparent rim.
Hook one edge, then work around evenly
For this flexible TPU cover, Sylacor’s after-sales method is to seat it gradually rather than pulling one wall outward. Hold the ring securely, catch one cover edge over the outer rim, and use the pads of your fingers to guide the cover around a short section at a time.
Alternate pressure around the circumference so one point does not carry the full stretch. The final section should roll into place with gentle fingertip pressure. If it takes obvious force or the cover starts turning into a long oval, stop and verify the selected size.
- 1. Rest the ring against a fingertip or soft surface; do not install it while wearing it.
- 2. Catch one edge of the cover over the outside of the ring.
- 3. Move a few millimeters at a time around the ring, changing pressure points as you go.
- 4. Press the last section into place with a fingertip—never a nail, blade, pick, or metal tool.
Check the seated edge before wearing
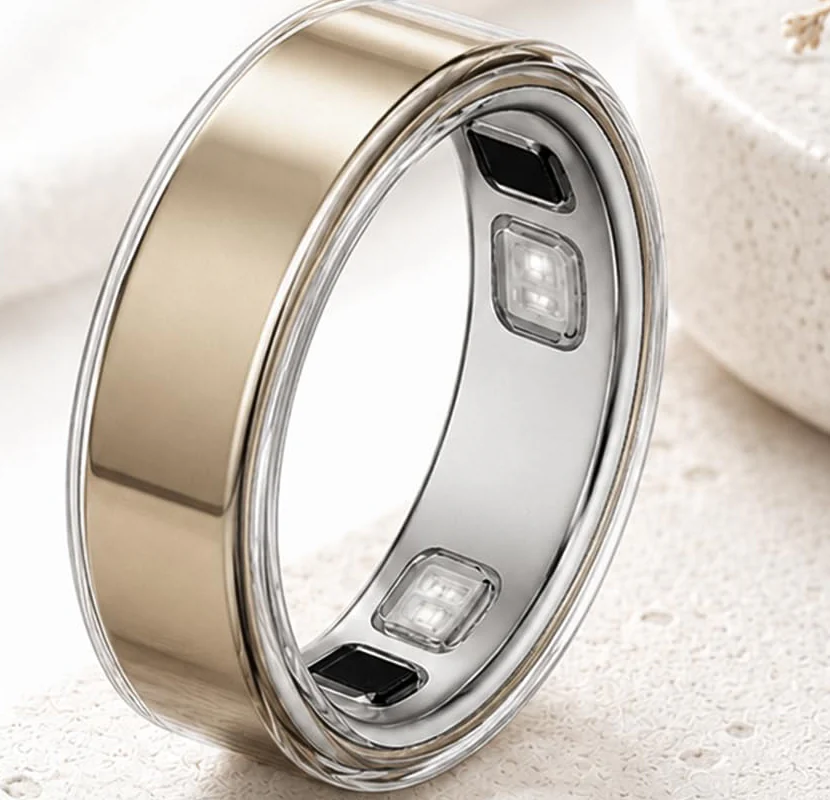
A correctly seated cover should form an even transparent rim around the outside of the ring. Check both sides in good light before putting the ring back on.
The cover should not fold into the interior, obstruct the sensor area, rotate freely, or trap visible debris or moisture. Remove and reinstall it if any edge is lifted or twisted.
| What you see | Likely cause | Next step |
|---|---|---|
| Even edge, no folds | Cover is seated | Put the ring on and check comfort |
| Wrinkle or lifted edge | One area was pulled farther | Remove and reinstall evenly |
| Cover spins or slips | Wrong size or stretched cover | Recheck size; replace if distorted |
| Moisture or debris | Surfaces were not fully clean and dry | Remove, clean separately, and dry fully |
Test charging once after installation
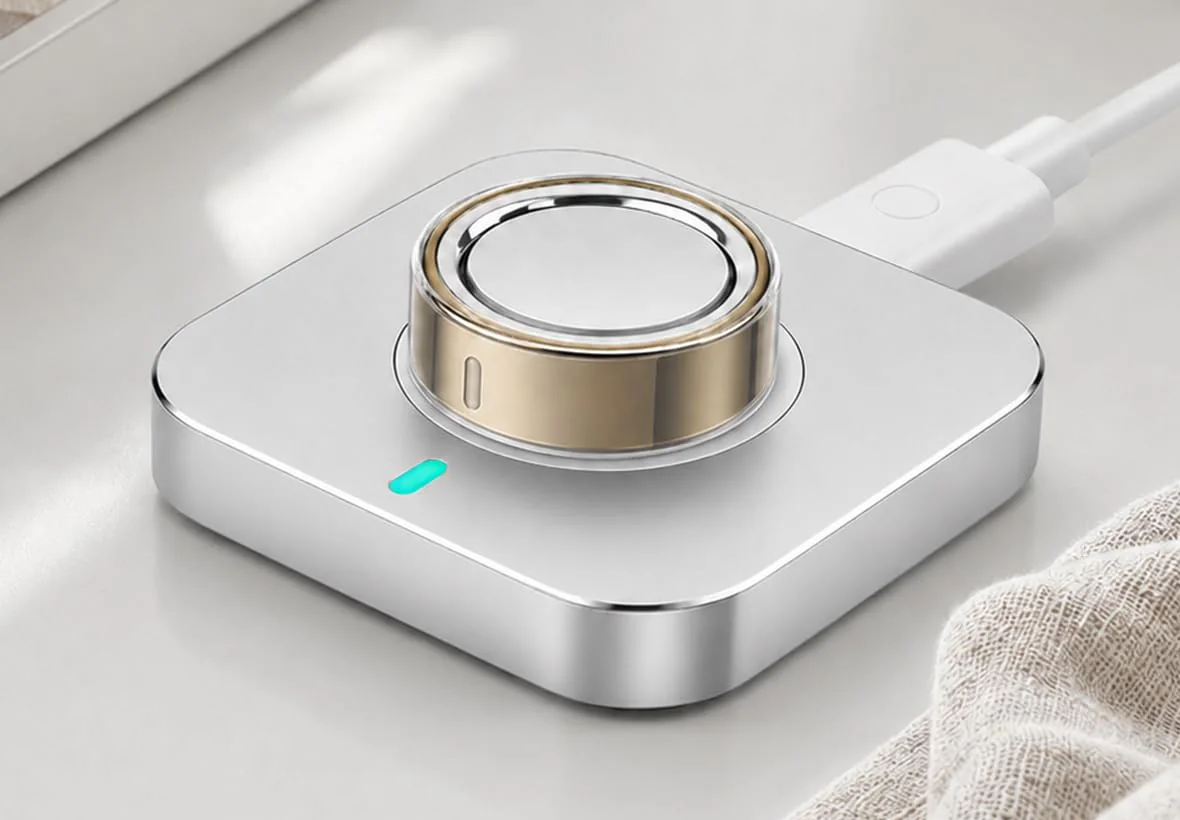
The seller’s current Amazon listing states that the cover can remain installed while charging. Treat that as a fit check, not an unconditional guarantee: place the ring on the correct Oura Ring 5 charger and confirm that it seats normally and charging begins.
If charging does not start, remove the cover and confirm that the ring charges by itself. Then check for a folded edge, trapped debris, or the wrong size before reinstalling and testing again.
Remove it by reversing the motion
To remove the cover, lift one edge gently with the pad of a finger and work around the circumference in small sections. Do not yank from one point, cut the cover while it is on the ring, or pry it with a hard object.
After removal, inspect the rim. Replace the cover if it stays stretched, has a split or permanent crease, feels loose, or will not sit evenly after a clean reinstall. A cover is a replaceable wear layer, not permanent armor.
Quick answers
Which size cover should I buy?
Match the exact Oura Ring 5 size shown inside the ring or in the Oura app. This product family currently has separate size 6–13 variations.
Will it fit Oura Ring 4, Ring 4 Ceramic, or Gen3?
No. The verified listing is for Oura Ring 5 only and explicitly excludes those generations.
Should I heat the cover before fitting it?
No heat should be needed. If the cover requires heat or obvious force, stop and recheck the selected generation and size.
Can I use a tool to pull the cover over the ring?
No. Use only the pads of your fingers; a sharp or hard tool can mark the ring or tear the thin TPU edge.
Can I charge with the cover on?
The seller lists that use, but confirm normal seating and charging after installation. If charging does not begin, remove the cover and troubleshoot the fit.
What if the cover spins or wrinkles?
Remove it, clean and dry both surfaces, verify the exact size, and reinstall evenly. Replace the cover if it remains stretched or damaged.
Sources
- Sylacor Oura Ring 5 clear cover on Amazon
- Oura Member Care: choose and check an Oura Ring size
- Oura Member Care: caring for your Oura product
Amazon variations and availability can change. Product facts were checked on the guide’s updated date.